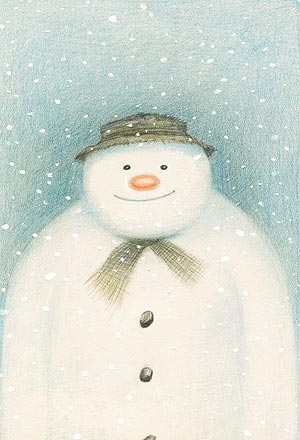
Today I wanted to talk a little about burnishing. It's when you've laid down several shades of pencil color on paper, and the tone looks good but the texture is, eeewwcch. It might be grainy. It might be a little uneven. The thing it is not is smooth. That's where burnishing comes in. After you've made your layers, you take a lighter, neutral colored pencil that is going to not or only alter a little the general color you've tried to achieve on the paper. You sharpen that pencil, and, sharpening it often to keep it to a fine point, you press very firmly and evenly (not too firmly-you don't want to rip the paper!!) until you have actually pressed down the tooth or fuzziness-the texture of the paper essentially. What this achieves is a polished, finished, smooth look. Some colored pencil artists like their work more burnished than others. Some don't burnish at all! But usually a great majority do, unless you're going more for the "Snowman by Raymond Briggs" effect, which isn't a bad thing.

Anyway, below I have some progress pictures as I work through layering and then burnishing the background.
You'll notice that I tend to add a lot of pinks and purples. Girly me.

Starting to put in the background near his left ear.

More of the background layering.
 I'm getting kinda crazy with the pastels, but bear with me-blues and purples tend to make whatever they're coloring go back visually. Think about when you see blue mountains in the distance.
Ahh, now the burnishing. Do you see it?
The little bit that I've started, using a

light gray pencil?
What? You don't see it? Here, I'll put a red circle around it.

This does take time, but if you want the effect, it is worth it. I burnish all of my pieces. Keep in mind that once you burnish an area, it is very, I repeat, very, tricky to get any more pencil on top, and I don't reccommend that you try. You're going to end up with a smooth patch with what looks like a three year old scribbled on top unless you're very careful. It also really depends on how much tooth the paper you're using has, too.
 Now I've burnished that whole background bit. Doesn't it look better?
I also darkened up the wolf's features a bit, he was not quite sharp enough for my taste.

And here's where I am so far. Now, all I really need to do to finish this up is to do the upper right corner and his furry shoulder on the lower left corner and then I can call it done.
Hope this helped you other colored pencil artist newbies out there! Have a happy memorial day weekend!
No comments:
Post a Comment